Experience the power of Microsoft Office 365 and protect your business emails with advanced security features. In the following article, we will guide you through the steps of configuring email security in Microsoft Office 365 Business Premium. With powerful threat prevention and encryption solutions that work, you can easily protect the security and integrity of your business communications.
Part 1 – Microsoft Office 365 ATP Safe Attachments
Protect your emails from malicious attachments with Office 365 ATP Safe Attachments. This feature scans attachments in real time, ensuring that harmful content is detected and blocked before it reaches your inbox.
To utilize the ‘Safe Links’ function, make sure that all users have the proper licenses allocated. Take the following steps:
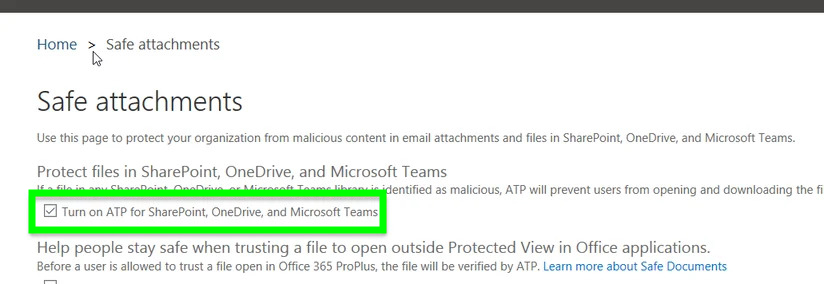
- In the Office 365 settings, choose “ATP safe attachments”.
- Check the option that says “Enable ATP for SharePoint, OneDrive, and Microsoft Teams.”
- Set up Office 365 ATP safe attachments by clicking the “+” button.

- Give your insurance a name and choose “Replace”.
- Turn on “Enable redirect” and input the IT Manager’s or IT team’s alias to get a ticket for any issues discovered.
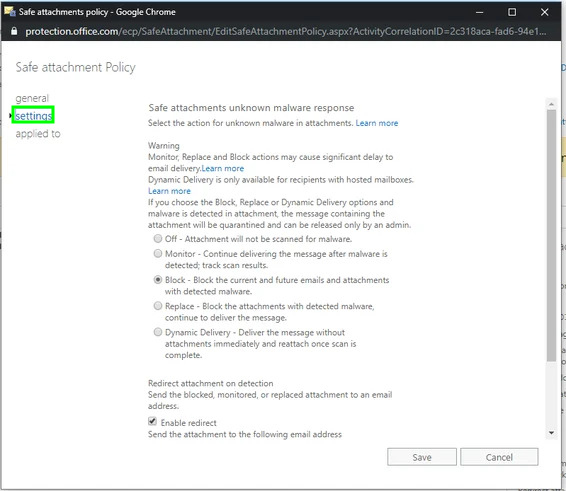
- You have the option of selecting a more or less stringent ATP safe attachments policy.
- If malware scanning for attachments fails or times out, check the box to implement the set policy.
- Apply the rule “If the recipient domain is” and set ATP safe links’ malware scanning appropriately.

- Finally, use the “Save” button to make the changes to your renter. Please keep in mind that the modifications may take between 5 seconds and 5 minutes to take effect.
Part Two: Office 365 ATP Safe Links
To set up Office 365 ATP Safe Links for Email Security, take these steps:
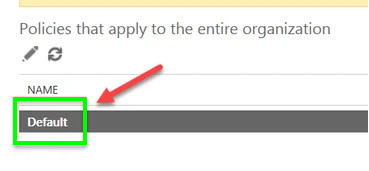
- To establish the default ATP Safe Links rule, first click ATP Safe Links, then double-click Default.
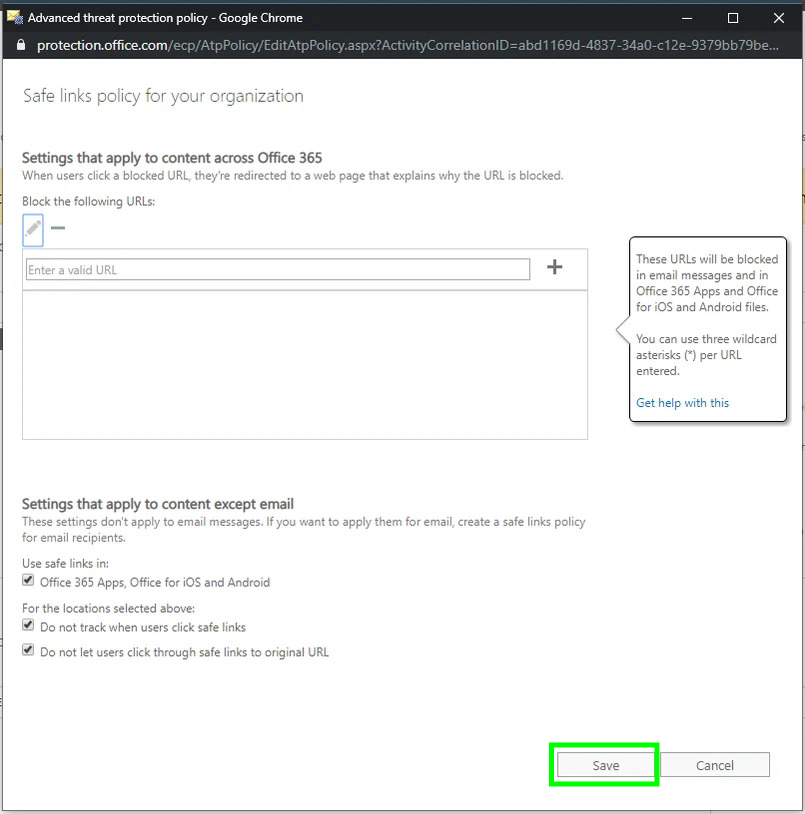
- A popup window will appear. In this window:
- Check the boxes for Office 365 Apps, Office for iOS, and Office for Android.
- Check the option that says “Do not track when users click safe links.”
- Check the option that says “Do not allow users to click through safe links to the original URL.”
- After making your options, click Save to make the changes.
Part 3 – Microsoft Office 365 Business Premium ATP Anti-phishing
With these changes, your ATP Safe Links policy has been successfully setup, increasing the security of your Office 365 environment.
Follow the instructions below to configure ATP Anti-phishing:
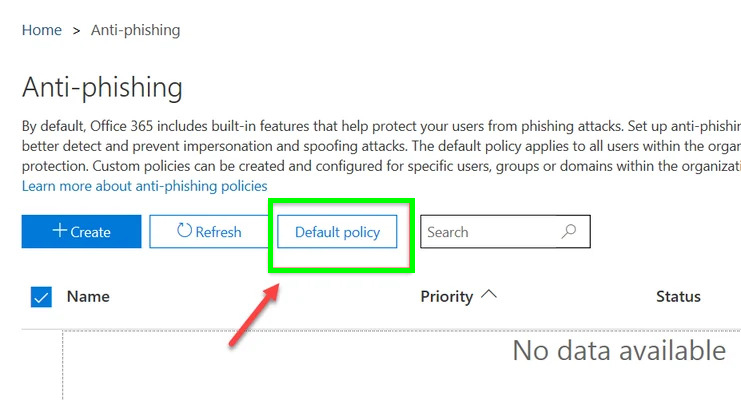
- In the ATP settings, go to “Anti-phishing”.
- Select the “Default policy” option.
- Make a new ATP anti-phishing policy.
- The following window appears:
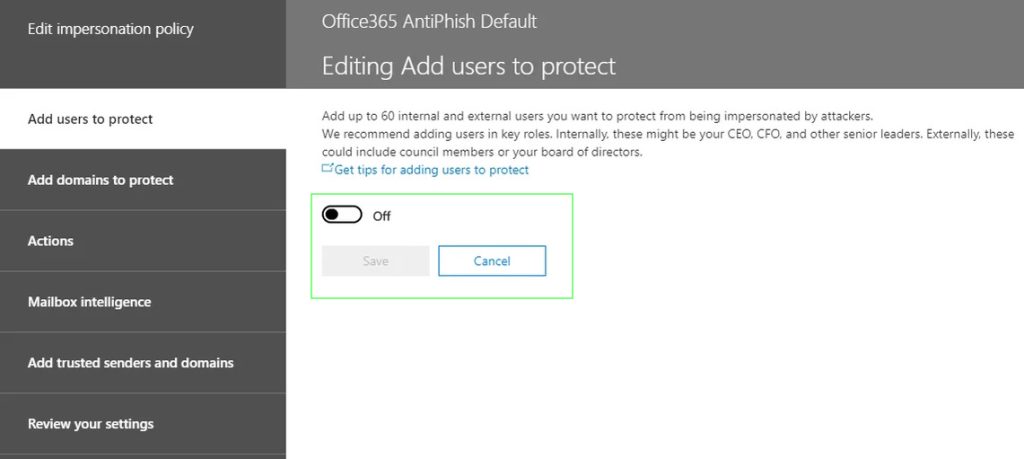
Click “Edit” in the “Impersonation” section to edit the ATP Impersonation policy
- Change the setting from “Off” to “On.”
- Click “Add user” and enter the user’s email address, followed by “Save.”
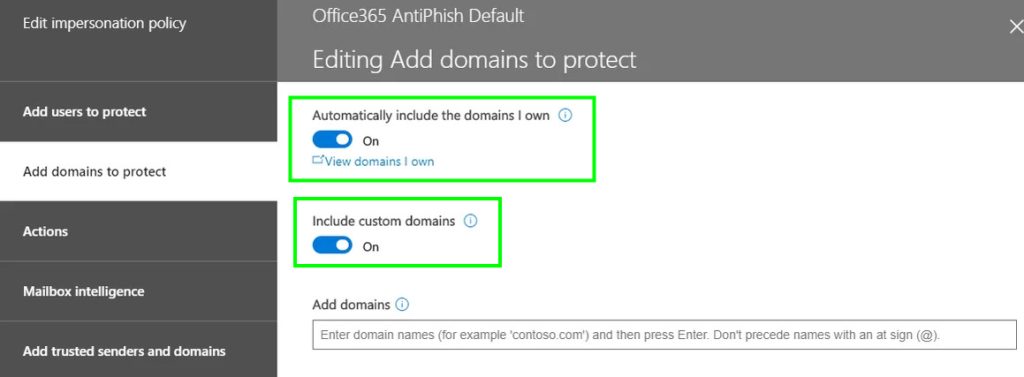
- In the ATP Impersonation Policy, click on “Add domains to protect”.
- Enable both “Automatically include the domains I own” instead of “Include custom domains.”
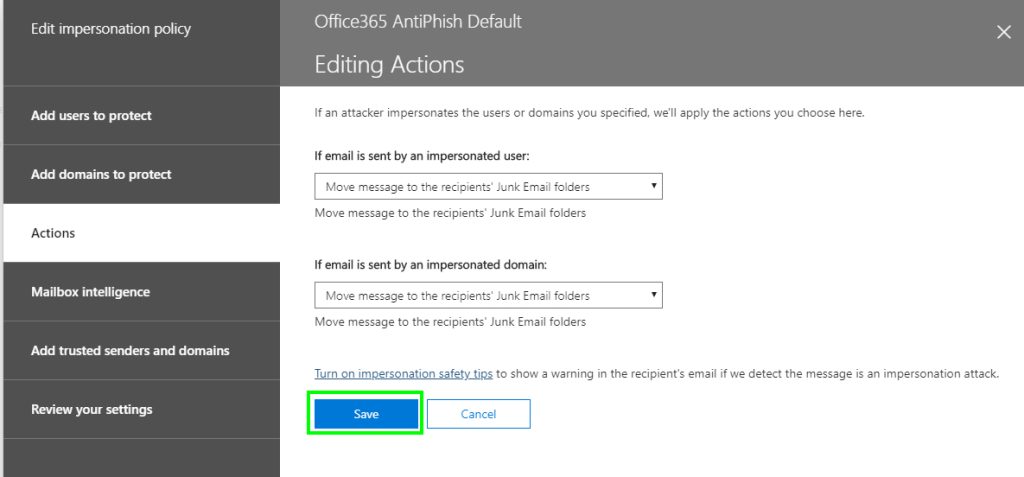
- For both impersonated users and domains, go to “Actions” and choose “Move message to recipients’ Junk Email folders.”
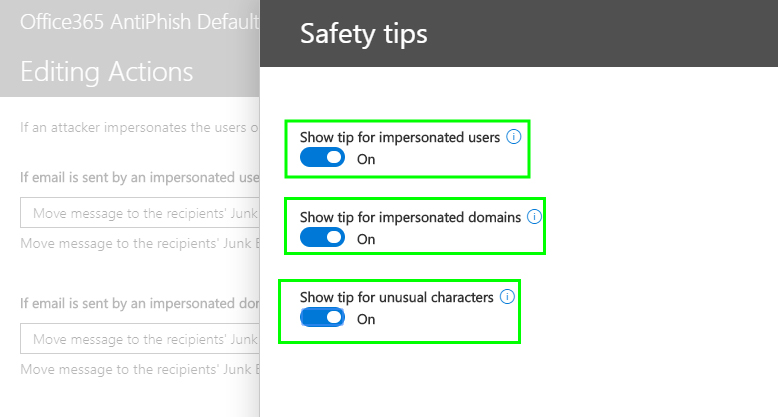
- Click the “Turn on impersonation safety tips” link and enable all three switches.
- To make changes, click “Save”.
Following that in Microsoft Office 365 Business Premium:
- Right-click on “Mailbox Intelligence” to turn on “Enable mailbox intelligence” on the left and “Enable mailbox intelligence based impersonation protection.”
- For emails from impersonated users, click “Move message to the recipients’ Junk Email folder.”
- There is no need to take any action under “Add trusted senders and domains”.
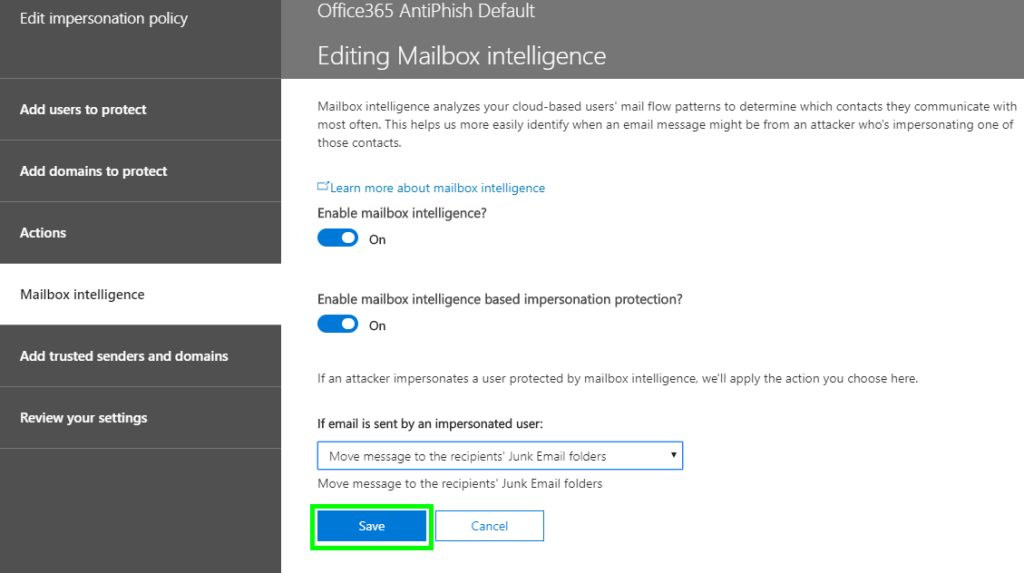
- Check your settings to check they are all accurate.
- Click the “Save” button to confirm your selections.
- Finally, click “Close” to finish the configuration.
Conclusion
Finally, enabling Advanced Threat Protection (ATP) in Microsoft Office 365 Business Premium provides maximum Email security. Businesses may protect themselves from advanced threats by using capabilities such as Office 365 ATP Safe Attachments, Safe Links, and Anti-Phishing. Purchase Microsoft office 365 now to get comprehensive protection for your company’s email communications.